Thursday, January 21, 2021

Seasonal Scenes

Creating Scenes can be fun but more often then not they become complicated.  So many layers and thinking through what will need to be done.  The hardest part about Layouts is the planning.  It probably takes me twice as long to plan a page as to put it together.

I thought for this page it would be fun to try something new.  Last year Spring was quite late in coming and we wondered if it ever would.  By late May when the trees began to blossom  I had to get a picture of the beauty of it.. As I was going through words I found the Quote: No matter how long the winter; spring is sure to follow.  This became the base for my page.

I accidently ordered a Die Cut; I don't own a Die Cut machine.  The way it was advertised on Altenew's website it looked like a mini stamp set.  When the set came, Polar Bear, I was quite disappointed but had already planned a page with the stamp.  this meant I had to get creative.  I tried a couple of different methods.  Using a photo square I stuck the Polar Bear Die Cut to a stamp block.  I tried pressing the die cut into a Jet Black ink pad.  It worked but needed multiple presses to make it distinctive enough & was hard to line up..  To get a darker outline I used Altenew Jet Black Alcohol Marker.  This gave me a nice sharp impression.  It died my die but that is okay.


To create the Scene I used Close to my Heart Snowflake Stamp, Altenew Breathe Stamp Altenew Paint a Flower Daffodil & Altenew Polar Bear Die & Stamp.  I marked the page where the photo would sit so I knew where the stamping would go.  In the upper left corner I stamped snow flakes.  Around the picture I stamped Altenew Breathe with Clear Ink & heat embossed with white powder.  This gave the impression of snowflakes turning into blossoms around the picture.


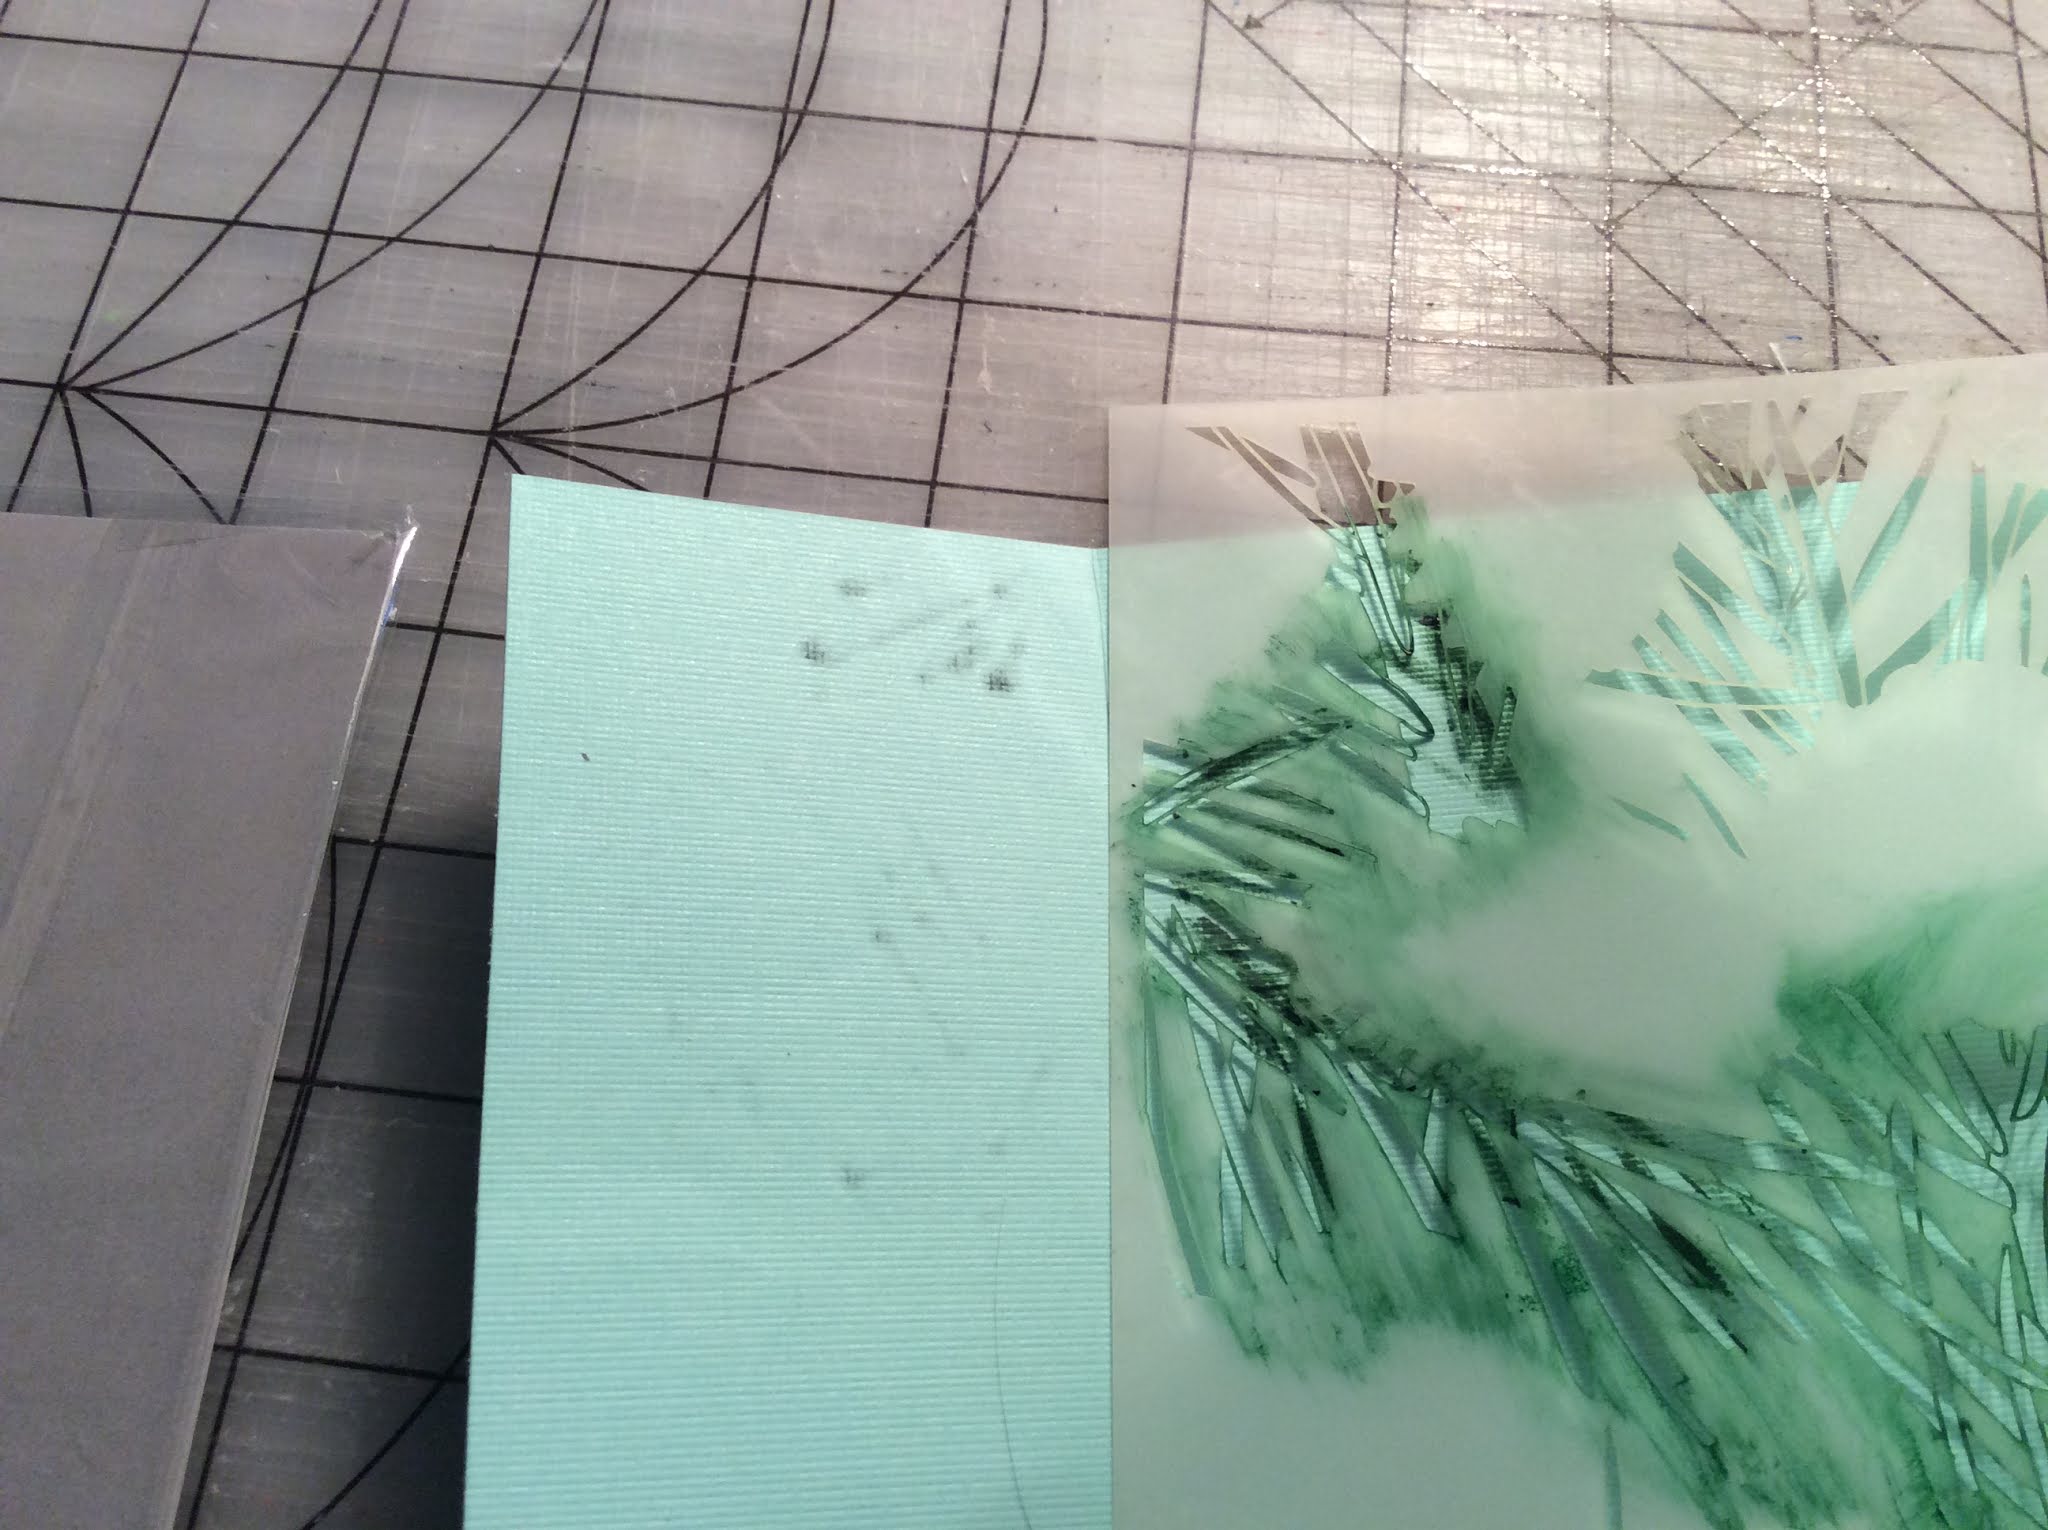
To create the scene along the bottom I did some stamp masking.  Using the Paint a Flower Daffodil Cluster first I stamped it it on a piece of white scrap paper..  The Daffodil clusters are made with one stamp but by masking different parts.  Originally I was going to surround the Polar Bear with Daffodils but decided it was too busy so left a gap.


To make the Daffodils pop I stamped them in gray ink and then outlined with Altenew Alcohol Markers.  I used Mango Smoothie, Autumn Blaze & Forest Glades.

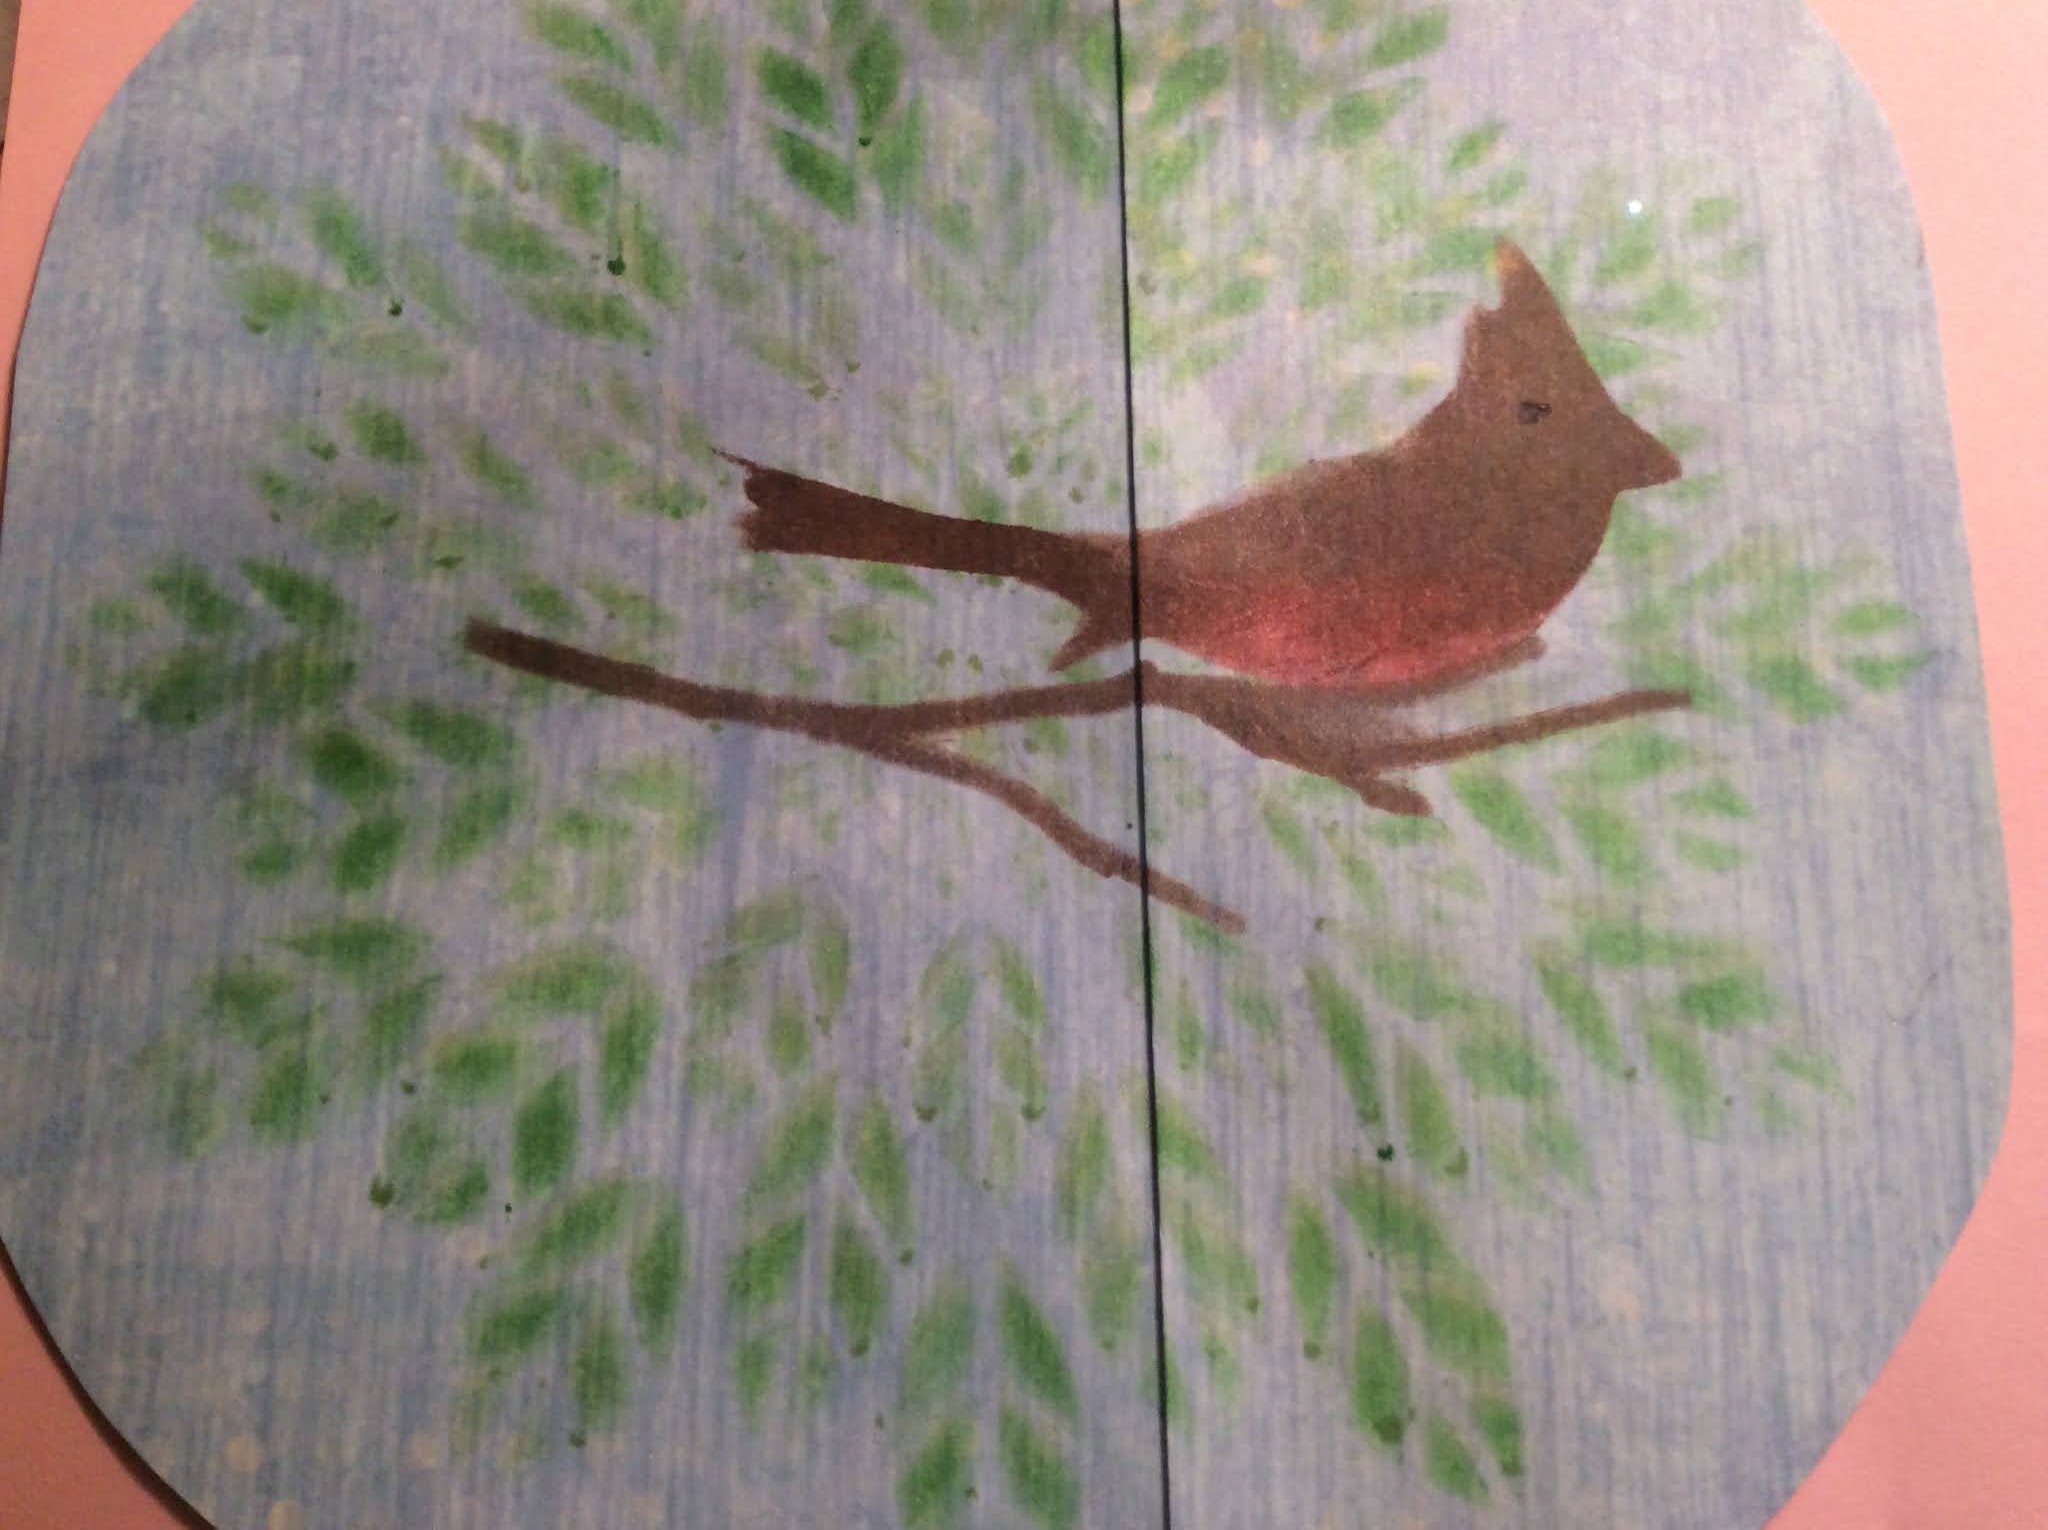
The picture hasn't come yet so I added it using Paint to show what it will look like.


Wednesday, January 20, 2021

Let It Shine

I live in a cold area.  Our home faces the North so in the Winter Get beautifully festinating Icicles.  The last few years I Have been maxed at the many beautiful icicles that have formed and how the light interacts with them.  I don’t necessarily want all my icicle pages to look the same.  On this layout I wanted it to pop.  I wanted icicles that glistened in the sun.

To create areas for icicles to hangout I laid out my pictures.  Around the pictures I traced pencil outlines.  I then removed everything  except pencil lines.  Using the Altenew Pine Needle Stencil, Altenew Sapphire Re-inker & Altenew Carribbean Blue Embossing Powder  I created icicles.

I placed a couple drops of Altenew Sapphire Ink on piece of glass & mixed with Embossing Paste.  I chose which parts of the Pine Needles looked like icicles  & applied colored paste through stencil using a mud & taping spatula.  I added the Altenew Carribean Blue Embossing Powder to the top.  


The icicles turned out to a little darker than expected but are beautiful when the light bounces off them.,  After the embossing paste dried I used a heat embossing gun to melt embossing powder.

Icicles don’t hang out in the middle of nowhere.  They alaways hang from something.  I dug through my ribbons & trims to see what I had that would enhance the shine of this layout.  I found I had two glitter ribbons - Gold & Blue.  The Baby Blue. Glitter Ribbon , in my option, screamed winter.  The sky is often similar in color to this Blue Glitter Ribbon in the winter.  This shade also toned done the starkness of the icicles.  


The Title Icicles was created Heavenly Blue ink & Close to My Heart Heritage Letter stamp.  I fussy cut out the letters & applied to page.


Thursday, January 7, 2021

Celebration Stencil Techniques

For this post I have included 2 different layouts.  I have shown how to get more out of your stencils and use them in creative ways.  In the first layout I
used a stencil to create leaves to scatter around the page.  This was a stencil left over from cutting out leaves with my Cutting Machine  that I used on another layout.

To give Texture I used the Altenew Classic Pine Pine Needles Stencil & Embossing paste.  I died the Embossing Paste with Altenew Dark Chocolate Re-Inker.  After the Paste dried I stenciled branches with a Brown Alcohol Marker from Altenew Season's Tweeting Mask Stencil


FOr another layout I used stencils to create a background embellishment..  For this layout I used Altenew Leaf Burst Stencil & Season's Tweeting Mask Stencil.  I layered the stencils to give the impression of a bird sitting in a tree.

A scrap of shy blue paper became the background.  Dipping a blush papd into water then Close to My Heart Clover meadow  created a nice new spring green leaf.  I used a dabbing motion to push ink through the Leaf Burst Stencil to get the leaf background.


Once the ink dried, I overlaid the Seasons Tweetin Mask Stencil branch in the center/  To add interest I traced the branch with a brown alcohol marker .  On top of the branch I used the bird from the same stencil.  This particular bird has a Cardinal appearance but I wanted more of a Robin.  

 I used Altenew Coral Bliss Re-inker to add a red belly to the bird with a blush pad.  Using a blush pad & Altenew Dark Chocolate Re-inker I created the bird sitting on the branch, now it looks more like a Robm.  


On the layout I traced more branches with the brown alcohol marker.  To mak the branches appear to be blooming I used Altenew  Layered Lily Stamp Bud 2.  The buds were stamped with Altenew Coral Bliss


For The Guys

 There were lots of options I could have used for this page.  I decided to do the unexpected color option or Pop Art.  I decided to create a background using Altenew Plentiful Pine Mask Stencil.  The fun part about this stencil is that you can pop out the mask to get a solid geometric shape . Apply the mask over for a dimensional look.  For the color scheme I chose Altenew Ponderosa Green & Mango Smoothie.  

This is an Autumn layout so there is a lot of yellows & browns.  For the background I used two sheets of a Sepia on Cream design.  This accented the browns in the pictures.   By making one tree yellow it pulls the yellow out of the background. & adds interest.  In my head Pine Trees are dark green  year around  so fit with pictures.

I used Altenew Re-Inkers & a blush pad to apple color through Stencil.  There are a lot of pictures on this 2 page layout so didn't feel a lot of embellishment was needed.  This was a quick layout to put together.  I started by laying out the picture to get a feel of where I might want trees..  After getting the layout I wanted I lightly traced around pictures with a pencil.  Outside of these lines is where I placed the Pine Trees.  I like even numbers so made sure that I had an even number of trees placed across the two pages.  

On a glass plate I added a few drops of Re-inker in Ponderosa Green.  On the First Tree I had a little too much ink on the blush pad & it bled under the Stencil giving the tree a unique look.  This process doesn't take a lot of ink.


To hold stencil in place I used a small piece of tape.  I applied the ink in a circular motion through stencil.  I chose to which tree would be different and left a space for it but did all the green ones first..  The Pine Tree triangles could easily be made into characters by adding arms & faces but I decided that took away from the pictures too much so didn't do it.

I used Mango Smoothie for the one odd tree.  To make it stand out even more I traced around it using The Altenew Mango Smoothie Alcohol Marker.  I had discovered in the past that the Markers & Re-inkers from Altenew are not the same color even though they are labeled the same.

The title "One of a Kind" was added to the yellow tree with a Brown Fine Tip marker.  All other information was written with same marker on the side of one of the photos after the picture was taken


Clean & Simple Boutique Cards


As a rule I don't like making cards; they take more time then a scrapbooking layouts.  For this card an idea came together that seemed appropriate & will probably be used on a layout eventually. I used a just few elements to create an elegant look.  I used a Stencil to create a background & used simple stamping.

 I started with a strip of Mint Green Textured Cardstock cut to 8 x 10.  I then scored 2 1/2 inches from each end.  I don't have a score board so used a popsicle stick & a paper trimmer to get crisp straight lines.


This gave an 8 x 5 card.  A little larger than a typical card but will work for what I need.  With COVID-19 a big discussion in 2020 I decided we needed a reminder.  This card is entitled Okay Apart, Better Together.  Looking Through Stencils I came across the Classic Pine Stencils A & B.  The Pine Needles & Pine Cones are two seperate stencils.  I got them to use for different projects & they are okay apart but when placed together they give a fuller picture.

On the left side front flap I stenciled Pine Needles using Altenew Ponderosa Pine Re-Inker & a blush pad. I also used the same stencil to create a background on the inside of the card.


On the right flap I used the Pine Cone Stencil.  I decided to mix Altenew Dark Chocolate Re-Inker with Altenew Embossing Paste.  This would give the PIne cones textures & add interest.  When you look at a Pine Tree the Pine Cones stand out from the needles.  Using a small painters paste knife I applied the paste through the stencil to leave a very slight textured image.  After the front dried I repeated the process on the inside of the card, centering the Pine Cones over the Pine Needles.


I used Close to My Heart  Amore Caps to Create Words..  I used the same Altenew Ponderosa Pine Re-Inkers & blush pad to apply ink.  On the Front I stamper Okay under Needles & Apart above Pine Cones. leaving the front Center seam down the middle.


On the inside using the same method as described above for the letters I stamped Better Together just below the cluster in Altenew Dark Chocolate.  My stamping isn't perfect but I like the final look.  If this was going to be an actual given card I would have stamped on panels then applied to card base..  The ink does bleed through the cardstock a little bit.  I was curious to see how much bleeding would happen if I didn't use panels.


Four Seasons - Spring

 As a new Close To My Heart Maker I have decided to showcase some scrapbooking layouts.  I am a 81/2 x 11 scrapper.  Almost all my papers ge...